Your Browser Is No Longer Supported. Please use an alternative browser to improve your experience and security.


How to Pack a Cooler: Tips for Keeping Food and Drinks Cold Longer
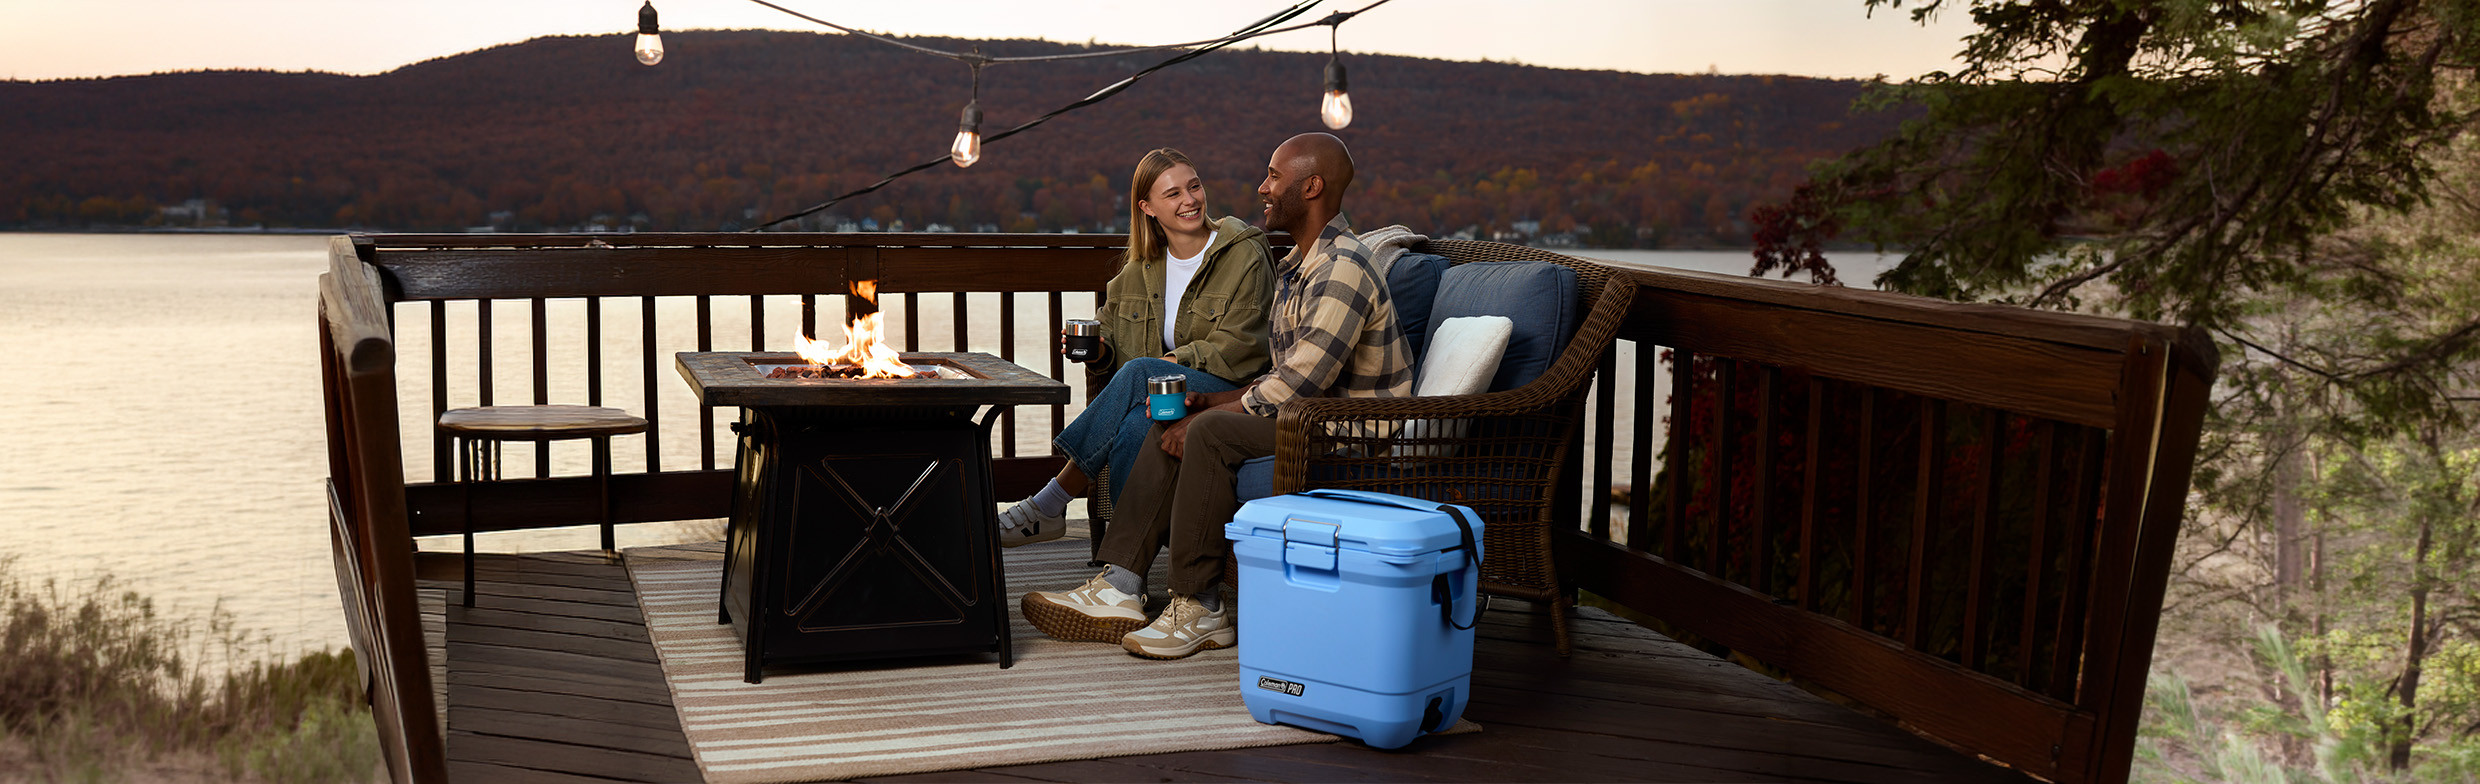
Cold drinks, fresh food, and no soggy sandwiches. A little bit of cooler packing know-how can go a long way to making a great day outside. We’ll help you get there.
For starters, a cooler can only help hold onto the cold stuff you put inside it. If the cooler starts warm or there isn’t enough ice, much of that cooling power will get used before your day even starts.
Learning how to pack a cooler helps you use the available space and ice more effectively. The same basic method works for a campsite, beach day, picnic, or tailgate: start cold, build practical layers, fill open space, and keep heat out once the cooler is packed.
Why Cooler Packing Technique Matters
Every time warm air enters a cooler, the ice has more work to do. Loading warm food or leaving large gaps around containers has the same effect. Thoughtful cooler packing cuts down on extra work for your ice so it can last longer.
Packing a cooler with drinks for an afternoon at the beach is easier than packing a cooler for a camping trip over several days. Still, cooler size, ice, packing order, and lid-opening habits matter in both situations.
Step 1: Choose the Right Cooler for Your Trip
If you’re asking, “What size cooler do I need?” consider the trip length, number of meals, how far you’ll need to carrry it, and storage space as well as your group size.
Start by deciding whether a soft or hard cooler fits the trip. These examples show how different designs solve different problems:
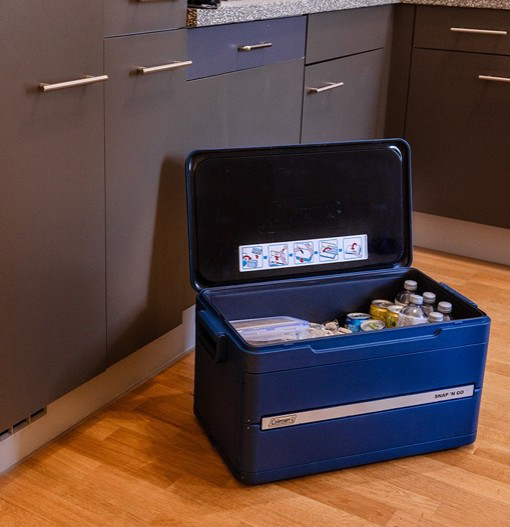
- Limited storage at home:Consider a collapsible model, such as the Snap ’N Go™ 55-Quart Collapsible Hard Cooler.
- Large group outings:A wheeled model like the Flex ’N Go™ 62-Quart Cooler can make it a lot easier to move a fully loaded cooler.
- Small-group day trips:A compact hard cooler, such as the Coleman® Pro 25-Quart Hard Cooler, balances space and portability.
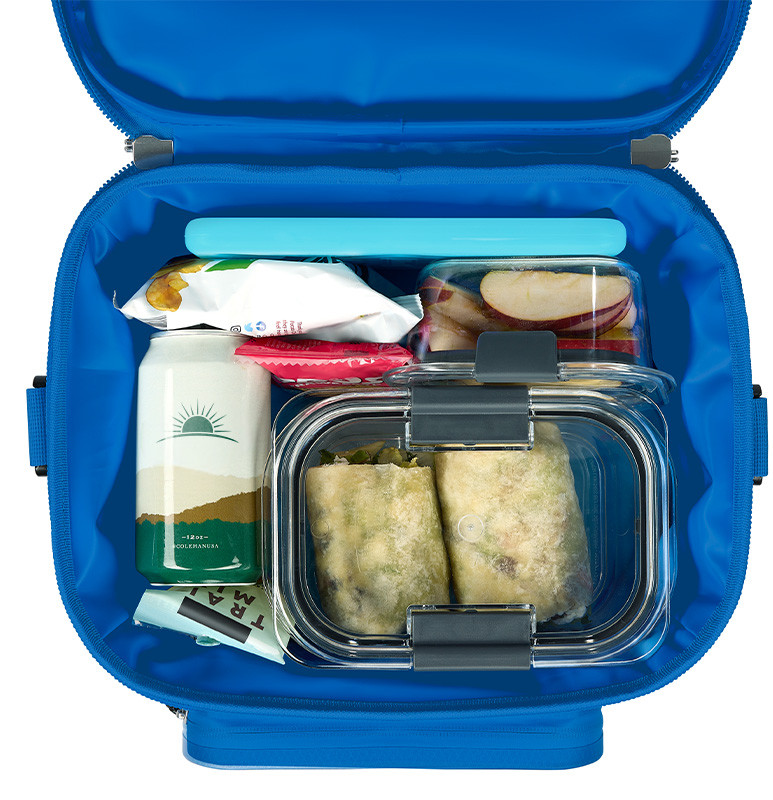
- Lunches and quick outings:A soft model like the Coleman® Pro 24-Can Soft Cooler is easy to take on the go for a trip to the beach or a sideline hangout.
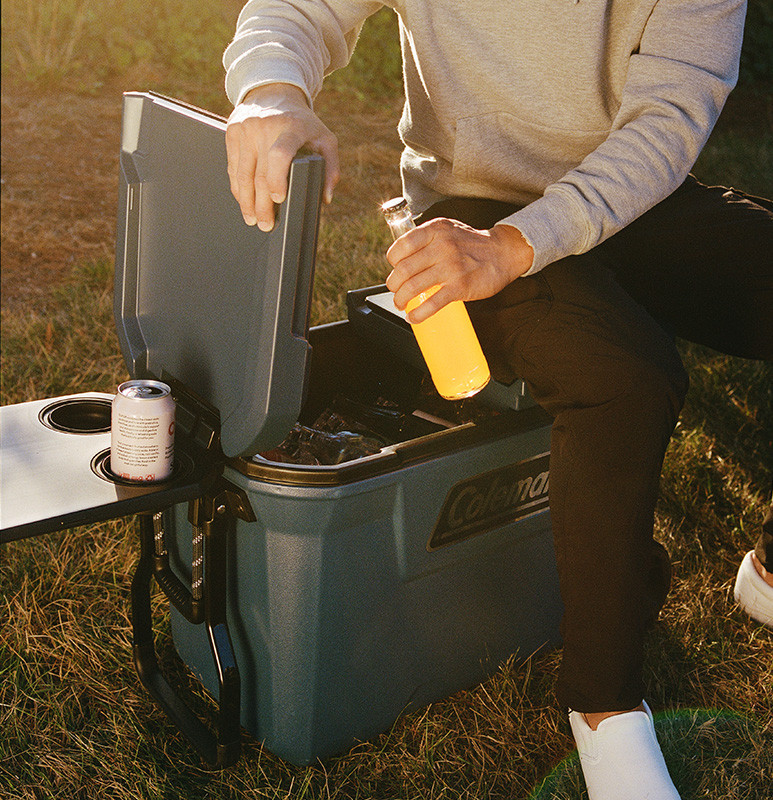
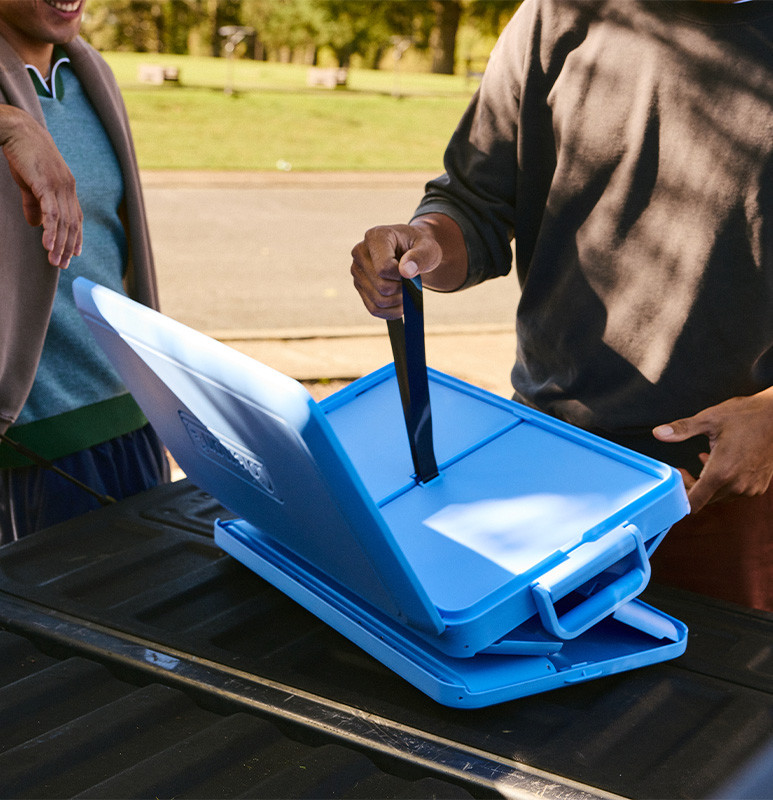
Cooler capacity is often listed without ice, so check the product description and leave space for cold sources. Check the exterior dimensions, too, especially if the cooler must fit beneath a cargo cover, through a boat hatch, or in a small storage area.
Step 2: Pre-Chill Your Cooler Before You Pack
A cooler that’s been sitting in a hot garage or vehicle will use some of your ice just to cool the interior. Before your trip, move it to an air-conditioned room, a cool basement, or another indoor spot that stays out of direct sun. You can also add ice or frozen ice packs, close the lid for about 30 minutes, then empty the cooler before packing it.
Refrigerate food and drinks overnight, and freeze anything that can safely thaw during the trip. If you’re working out how to make ice last longer in a cooler, starting with a cool interior and cold contents gives your ice less work to do.
Pack the cooler as close to departure as is practical.
Step 3: Use the Right Ice and the Right Amount
A practical starting point is about two parts ice to one part food and drinks by volume. You may need more in hot weather, on longer trips, or with frequent lid openings. Fill any extra space with ice or frozen bottles.
Different cold sources can handle different parts of the job:
- Block ice forms a slow-melting base for longer trips.
- Cubed ice fills gaps around containers, cans, and bottles.
- Frozen water bottles add cooling without loose meltwater.
- Reusable ice packs help keep foods and soft coolers dry.
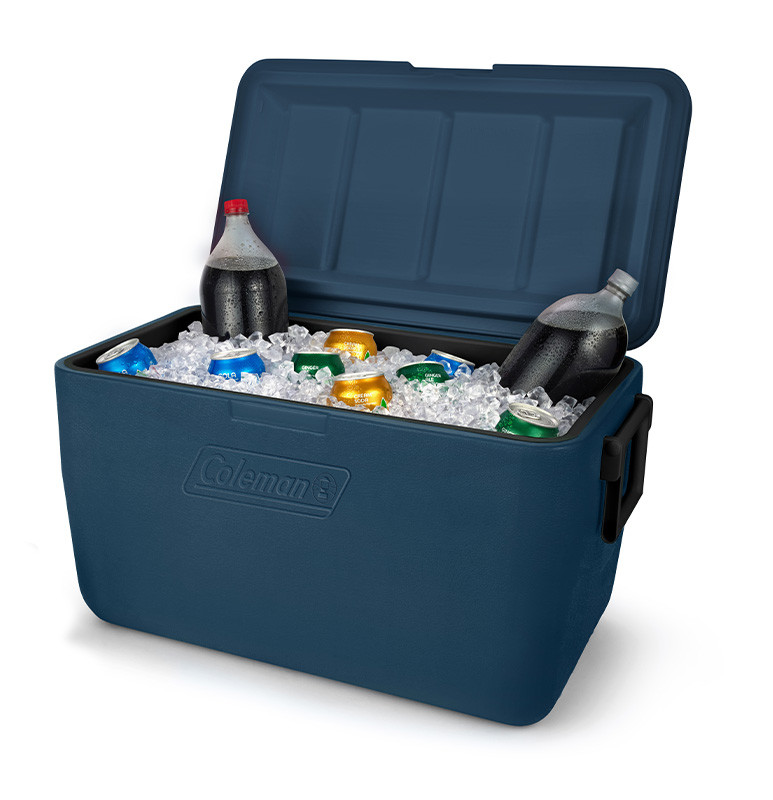
For most trips, a combination works well. When deciding how to pack a cooler with ice packs, place larger packs along the bottom or sides and smaller packs between containers or across the top.
Ice-retention ratings can help you compare coolers, but results depend on weather, packing, and use. The Coleman® Pro 55-Quart Hard Cooler, for example, is rated to keep ice for up to five days. That rating provides a useful reference when choosing a cooler for a longer trip and planning your ice supply.
Step 4: Pack in the Right Order
Your goal is to create a cold base, contain leaks, and keep frequently used items within easy reach. Pack food in sealed, watertight containers or zip-close bags, with raw proteins separate from ready-to-eat food.
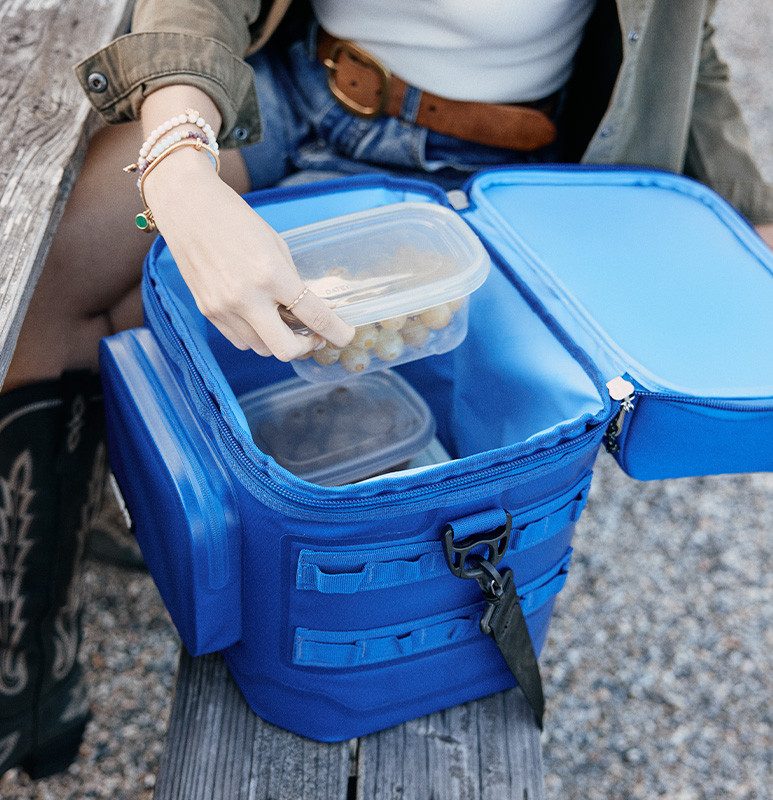
Build the cooler from the bottom up:
- Cover the bottom with block ice, frozen bottles, or large ice packs.
- Add securely sealed raw proteins low in the cooler, directly above the cold base.
- Pack meal ingredients and sturdy containers.
- Place snacks and quick-access items on top, then fill gaps with cubed ice.
Grouping food by meal is useful when packing a cooler for camping. You can remove one group, close the lid, and return unused items promptly.
It’s a good idea to keep an appliance thermometer inside. The USDA recommends holding perishable food at 40°F or below and packing raw meats in sealed containers at the bottom. Ice-retention estimates help with planning, but a thermometer is the better guide for food safety.
Step 5: Pack Cans and Drinks for Maximum Efficiency
The best way to pack a cooler with cans is to chill them first and arrange them in snug rows, with ice filling the gaps. Horizontal rows often work well in a wide cooler, but the most efficient direction depends on its shape.
When you’re planning how to pack a cooler with drinks, think about access as well as space. Keep popular beverages near the top. Put bottles that must stay upright in a cooler with enough interior height, where they won’t tip as other items are removed. Put kid drinks on one side and grown-up drinks on the other.
For a large tailgate, campsite, or tournament day, separate food and drink coolers can be useful. The drink cooler can handle frequent opening while the food cooler stays closed.
Step 6: Keep Your Cooler Cold Once It’s Packed
Knowing how to keep a cooler cold doesn’t stop when you leave home. Direct sunlight, hot surfaces, and repeated opening and closing add heat throughout the day.
A few habits can help protect the cold you’ve packed:
- Keep the cooler in shade and move it as the shade shifts.
- Avoid leaving it on hot asphalt or in a sun-heated truck bed.
- Decide what you need before opening the lid.
- Close the lid fully and add fresh ice when needed.
If shade is limited, a light-colored blanket or tarp can help shield the cooler from direct sun. Keep it clear of the lid seam and latches so the cooler can close completely.
Pack Smarter for the Time You’re Outside
Once you know how to pack a cooler, the routine is straightforward: match it to the trip, pre-chill it, use plenty of ice, build layers, and limit heat. These steps can help keep food at a safe temperature and drinks cold longer.
Whether you’re working out how to pack a cooler with drinks or organizing a camping weekend, plan around how the cooler will be used. You can compare capacities and carry styles in the Coleman coolers.
Frequently Asked Questions About Packing a Cooler
Should you drain melted ice water from a cooler?
Cold meltwater can continue to surround sealed drinks, so you don’t need to drain it automatically. Drain it if food containers aren’t watertight, there’s a risk of cross-contamination, or you need room for fresh ice.
Is it better to leave store-bought ice in the bag?
Loose cubes fill gaps and contact more of the load. Keeping some ice bagged can reduce meltwater, but it may leave more open space around containers.
Does adding salt make ice last longer in a cooler?
Salt can make an ice-water mixture colder, but it also causes the ice to melt faster. Adding salt isn’t the right choice when ice retention is the goal.
Can frozen food replace some of the ice in a cooler?
Frozen food can add cooling as it thaws, but it shouldn’t replace enough ice or ice packs to keep the full cooler at 40°F or below.
What should you do with a cooler after the trip?
Empty and clean the cooler, let it dry completely, and store the cooler with the lid slightly open so moisture doesn’t stay trapped inside.
Tips & Guides